Tomcat Installation Guide
Installation steps
Step 1
In a browser, navigate to:
http://tomcat.apache.org/
Step 2
Navigate to the latest version of Tomcat 8.x (which is 8.5.37 as of Jan 31, 2019).
NOTE: The following screenshots are taken from version 7.0.68.
Step 3
Run/click on the “64-bit Windows Service Installer” under “Core” under “Binary Distributions” to install it as a windows service.
Step 4
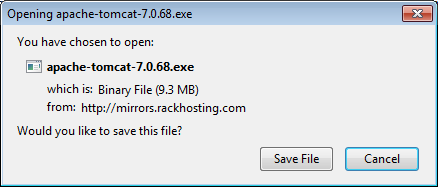
In Mozilla Firefox you will be asked to save the file:
Step 5
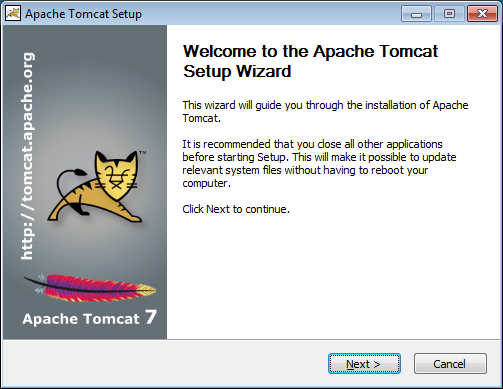
Open/run the saved file.
Step 6
Press “Next >”.

Step 7
Press “I Agree”.
Step 8
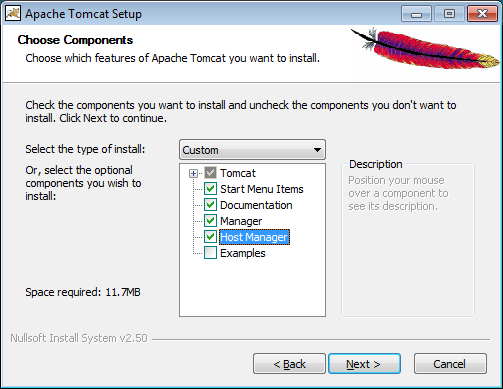
Select full installation (minus Examples) and press “Next >”.
Step9
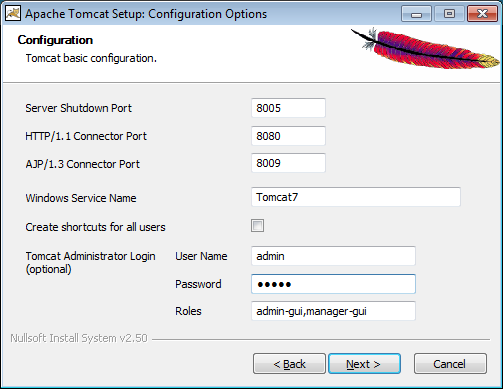
Choose whatever port you want for HTTP/1.1 Connector port (or let it be 8080)
(You later need to log in as administrator so remember the username/password for the administrator.)
Step 10
Press “Next >”
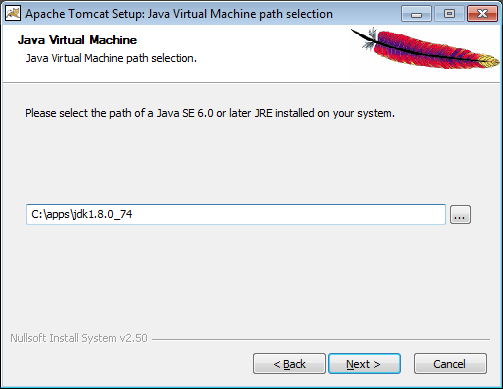
Step 11
Choose the correct Java runtime and press “Next >”.
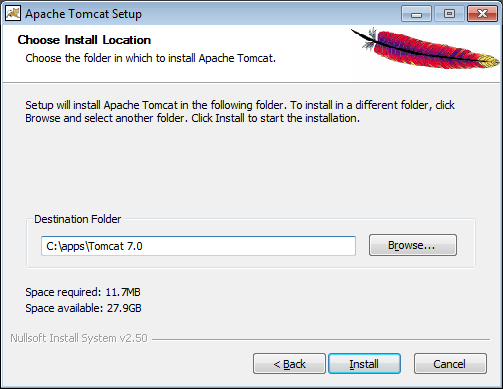
Step 12
Accept the default directory or choose a directory for the tomcat installation.
(Write down/note which directory you choose because you need to go to this directory later in the installation.)
Step 13
Press “Install”.
Step 14
Complete the setup by clicking “Finish”.