Customize Desktop
SICS allow users to customize the desktop.
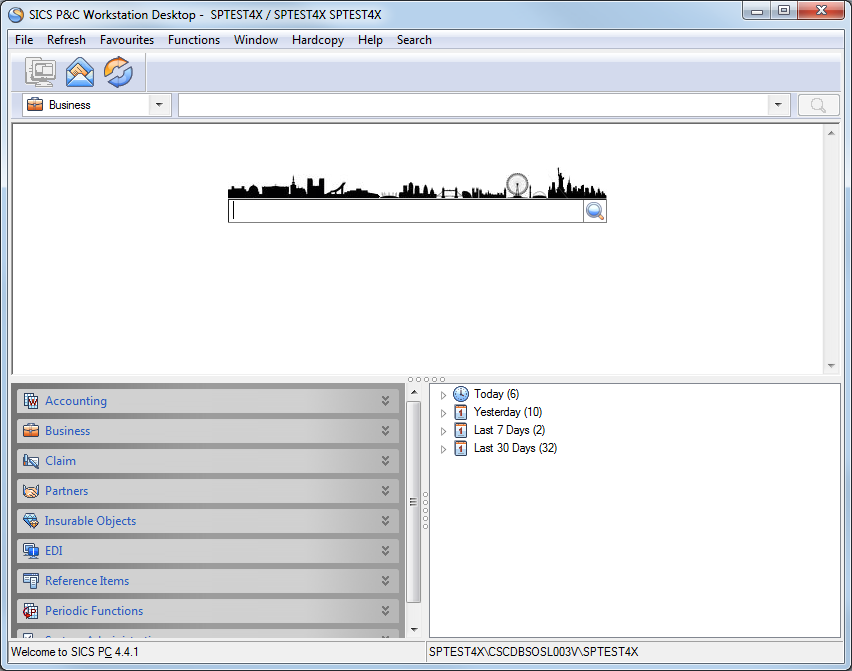
Custom Desktop can be activated by selecting menu item Use Custom Desktop from the File menu.
Custom Desktop will initially display an empty space. You will set up the desktop by using the Custom Desktop configuration utility.
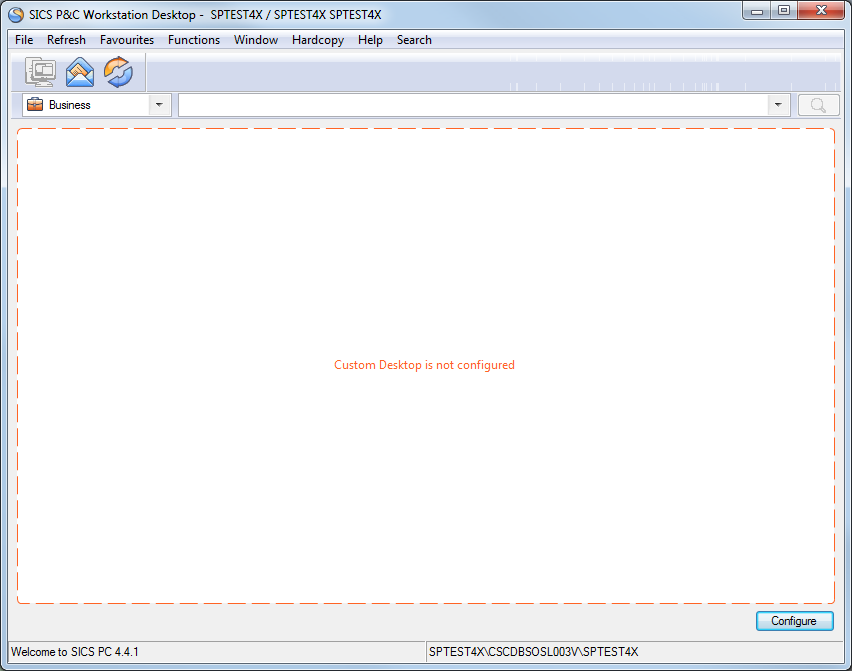
To configure the Custom Desktop from the initial empty state, click the button Configure at the bottom of the window.
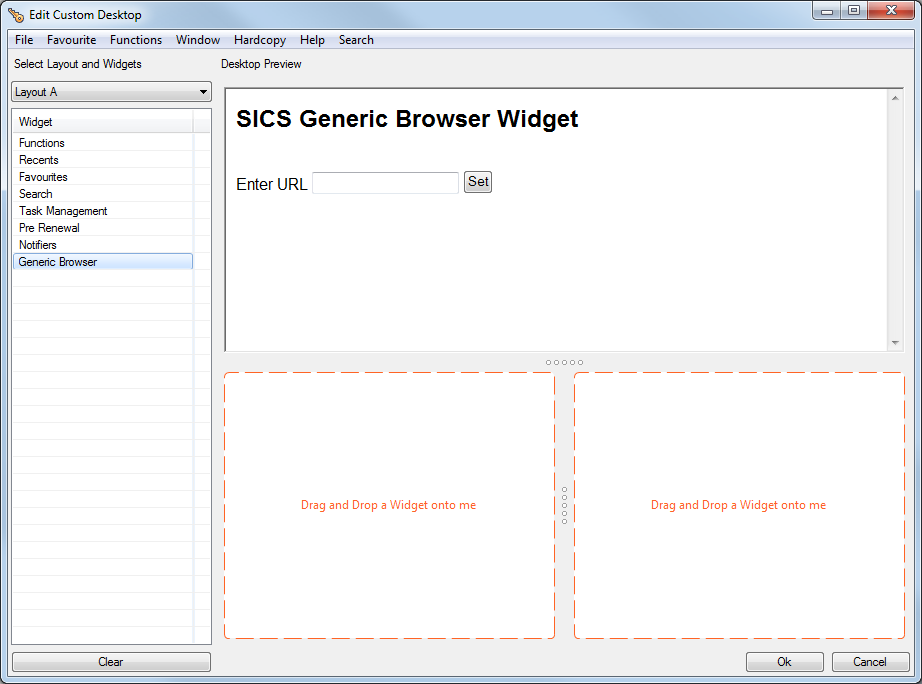
The Custom Desktop configuration screen is divided in two parts, with available layouts and desktop widgets on the left side, and a large blank area for previewing the Custom Desktop on the right side.
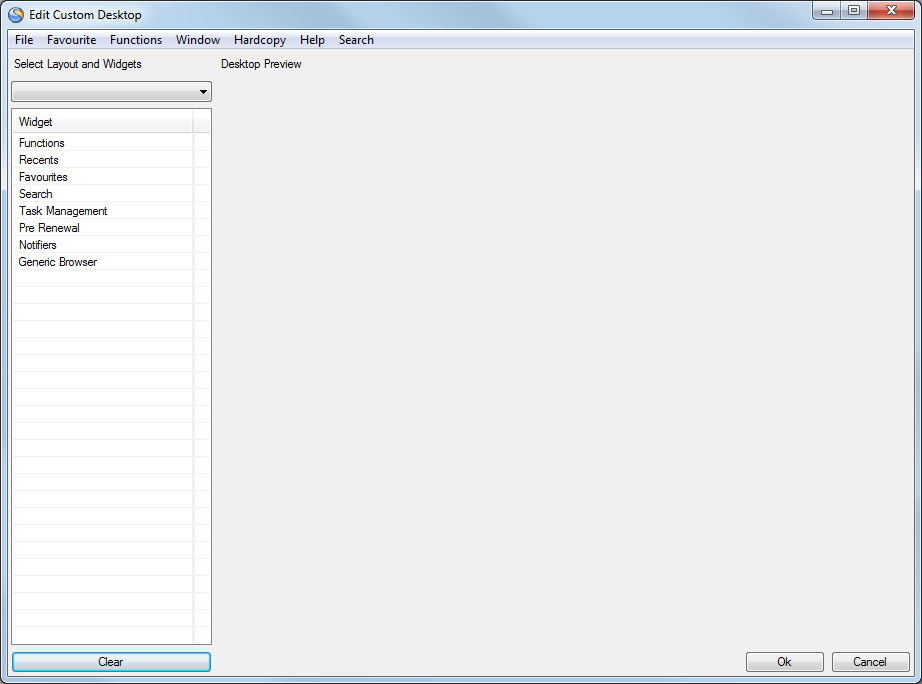
The first step is to select a layout from the list of predefined layouts.
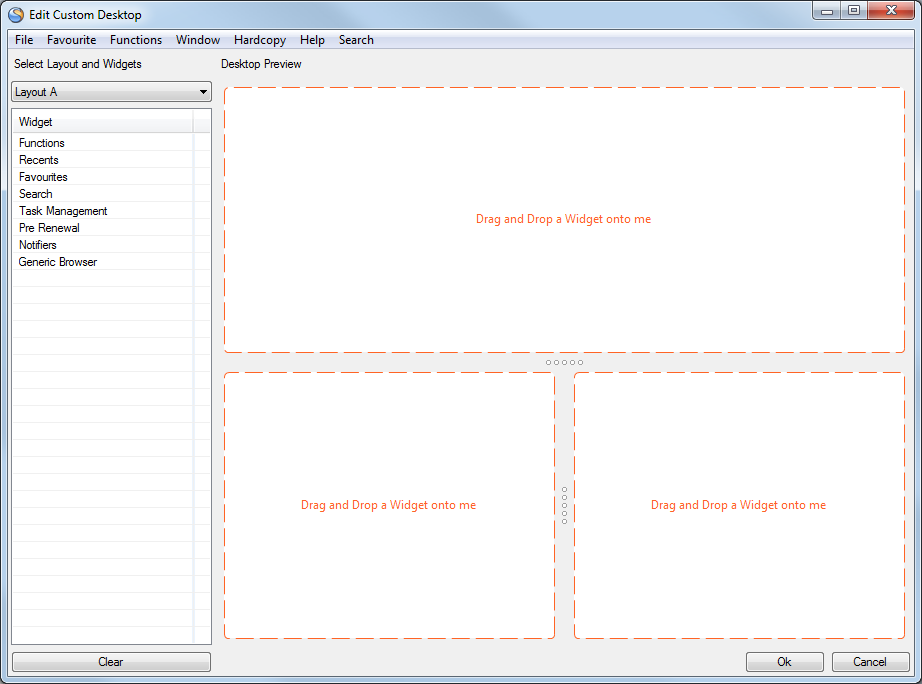
Next, select desktop widgets from the list on the left side, and assign them to the available spaces in the layout on the right side. The listed widget are drag and drop enabled. Drag desktop widgets to available drop zones and drop. Each widget type may be used in multiple drop zones.
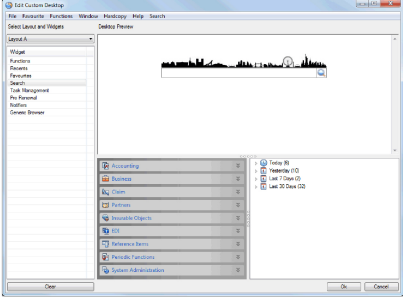
The sizes of the containers can easily be adjusted to fit your needs by moving the bars between the containers upwards, downwards or sideways.
When the Custom Desktop setup is done, click the button OK. The changes will be reflected immediately on the SICS Desktop, if Custom Desktop is enabled.
If you want to reconfigure the Custom Desktop, please open User Preferences, go to the tab folder Misc Preferences, and click button Configure Custom Desktop. Please see chapter Set User Default Preferences.
The Custom Desktop allows external content to be embedded on the desktop. This can be achieved by using widget Generic Browser. Assign this widget to one (or more) Custom Desktop drop zone(s). The widget will display a URL input field, and you are allowed to enter a valid URL. The widget will render the HTML content retrieved from the URL in an embedded browser window on the desktop.
Access Objects in SICS using URL
It is also possible to access various SICS objects like Business, Claim, Worksheet, order through the SICS Generic Browser Widget.
The widget allows you to set up a web page in the widget. The web page can contain html links for example, <html><a href=“sics://business?id=xxxx”>Click to open sics business xxxx</a></html>.
Access a html file located outside SICS:
- Enter the path of the web page in the URL field.
- Select ‘Set’ button.
- The widget renders the HTML content retrieved from the URL in browser window on the desktop.
- When you click on this link inside the generic browser widget, the e.g. business id mentioned in the link gets opened.

The following objects in SICS can be opened from the SICS Generic Browser Widget:
- Business (link parameters: Business ID, Underwriting Year, Section) e.g. “sics://business?id=SICS1257&uy=2003§ion=Child1”
- Business Partner (link parameters: Business Partner ID) e.g. “sics://businessPartner?id=111001”
- Claim (link parameters: Claim ID) e.g." sics://claim?id=0000000403"
- Headline Loss (link parameters: Headline Loss ID) e.g. “sics://headlineLoss?id=HLL”
- Bank (link parameters: Bank ID) e.g. “sics://bank?id=Bank 1”
- Person (link parameters: Person ID) e.g. “sics://person?id=Person 1”
- Accounting Order (link parameters: Order ID) e.g. “sics://accounting Order?id=AO8620”
- Accounting Worksheet (link parameters: Worksheet ID) e.g. “sics://accountingWorksheet?id=CW30”
- eMessaging Message (link paramters: Emessage UUID) e.g. “sics://message?uuid=IBF67AC7-D4DC-4A8F-B752-45B6B6CA6638”